MetaFather
Name
हम सब को मेटा व्यवस्था में प्रवेश करने देने के लिए आवश्यकता है और सबसे अच्छा मेटा व्यवस्था प्रबंधक बन जाने क
v1.2.0.0 / 277 MB for Windows 10/11 x64, 2024-12-08
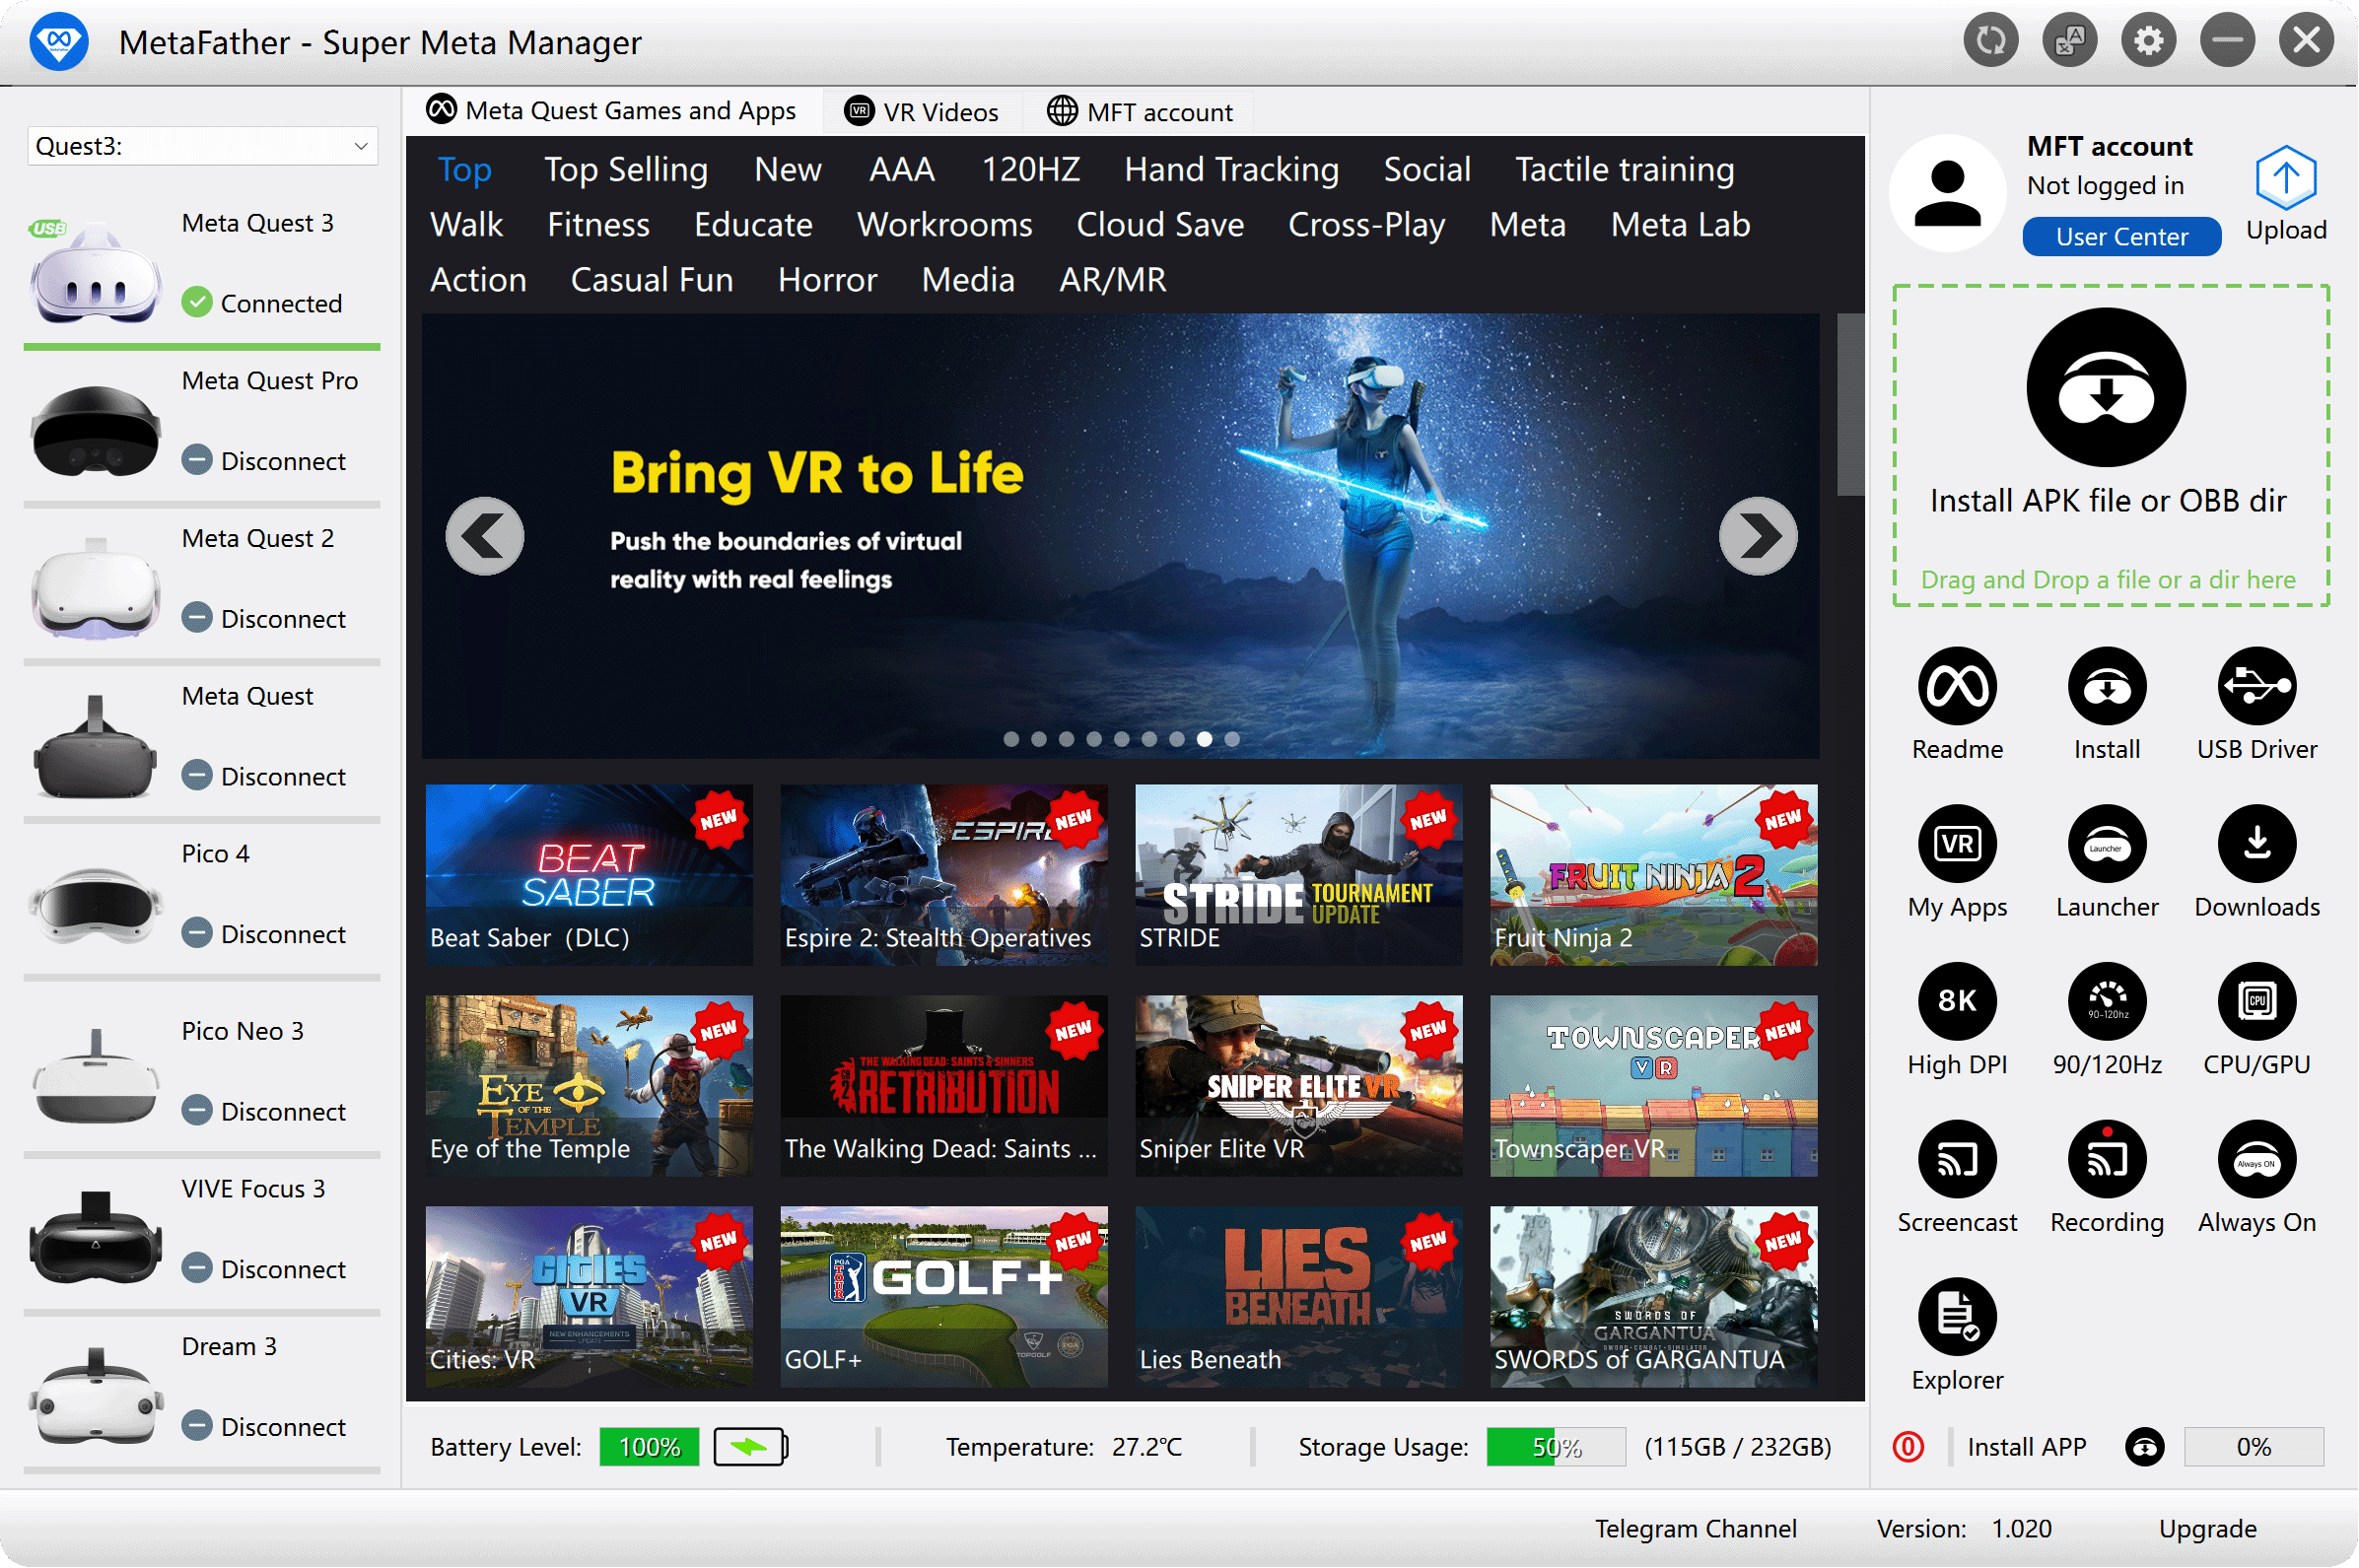
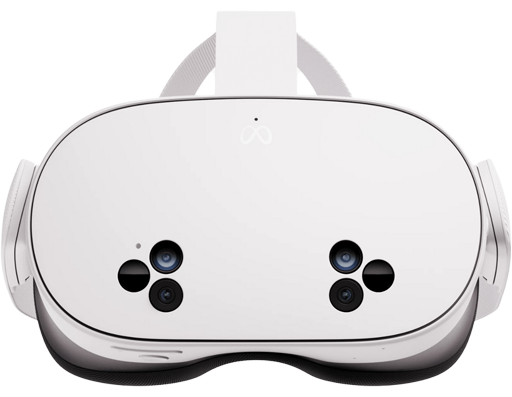
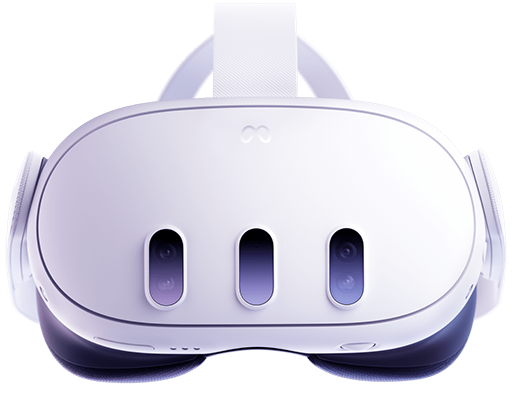
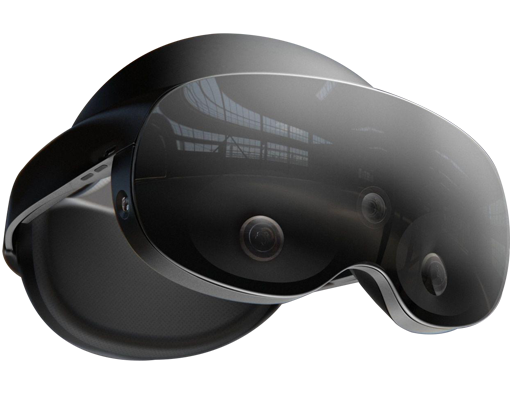
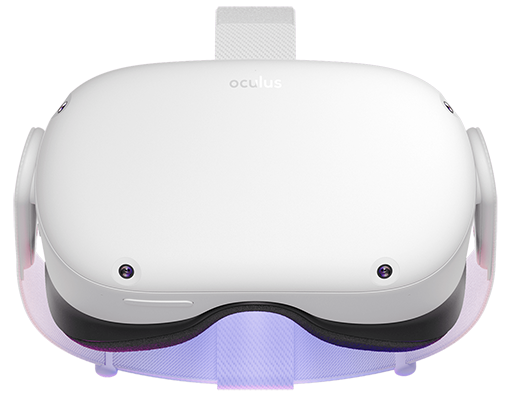
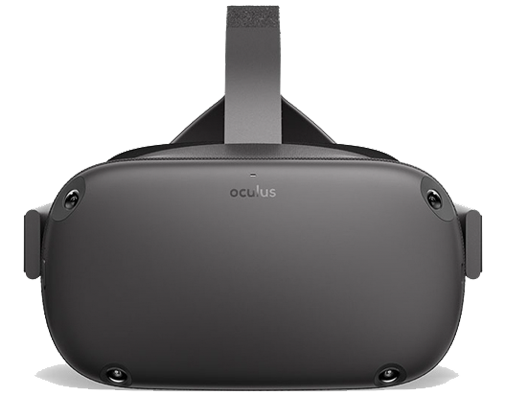

मेटापिता एक वीआर हेडसेट सुपर प्रबंधन उपकरण है जो लोकप्रिय वीआर हेडसेट को समर्थन करता है, जैसे मेडा क्वेस्ट, पिको, वीव फो
मेटापिता भी एक वीआर खेल और अनुप्रयोग शेयरिंग और डाउनलोडिंग सॉफ्टवेयर फ़ाइल सिस्टम (IPFS) पर आधारित है. आप एक क्लिक के साथ वीआरआई खेल तथा अनुप्रयोग डाउनलोड कर सकते हैं.
आप एपीकी फ़ाइल या ओबीबी डिरेक्ट्री को भी खींच सकते हैं जो आप सॉफ्टवेयर में तीसरे पार्टी में प्राप्त हुए हैं, और आप उन्हें तेज़ अपने
26 भाषा तक समर्थन करते हैं, मेटा व्यवस्था को बिना बिना बिना बिना अनुशोध करते हैं.

आप आसानिक रूप से लांच कर सकते हैं, रूप से बल कर सकते हैं, साफ डाटा और अपने वीआर हेडसेट में एप्लिकेशन हटाए सकते हैं

आप अपने वीआर हेडसेट में एक क्लिक के साथ प्रयोक्ता द्वारा साझेदारी अनुप्रयोक्ता द्वारा डाउनलोड कर सकते ह

मेटा क्वेस्ट और अन्य वीआर हेडसेट की स्क्रीन को अपने कम्प्यूटर के प्रथम व्यक्ति में मिरर करें.

अपने मेटा क्वेस्ट को 4K, 8K तथा 12K रिजोल्यूशन तक बढ़ा दें.

अपने मेटा क्वेस्ट को 120HZ ताजा दर तक बढ़ाना.

सीपीयू, जीपीयू ओवरक्लॉकिंग तथा FFR अधिकतम रेन्डरिंग सक्षम करना संभव है.
पहले डाउनलोड करें तथा विंडोज़ 10/11 x64 पर मेटा पिता संस्थापित करें, फिर नीचे 4 चरणों का अनुसरण करें:
आपके हेडसेट में एप्लिकेशन खेल स्थापना करने के लिए हमें डेवलपर मोड सक्रिय करने की जरूरत है. इसे करने के लिए, आपको मेटा ओकुलुस वेबसाइट पर रेजिस्टरिज़र "डेवलपर" होना चाहिए. यह प्रक्रिया स्वतन्त्र, जल्दी और आसान है. जाएँ developer.oculus.com अपने पीसी पर और एक 'संस्था बनाएँ'. आपसे पहले विकासकर्ता स्वीकार करने के लिए पूछा जाएगा. फिर आपको अपने खाते को क्रेडिट कार्ड या फोन संख्या के प्रयोग से सत्यापित करने की जरूरत होगी. बहुतेरे खाते पहले से ही सत्यापित होगे और आप इस भाग को छोड़ सकेंगे.

अगले आपको ऐसा संस्था बनाने की जरूरत होगी:

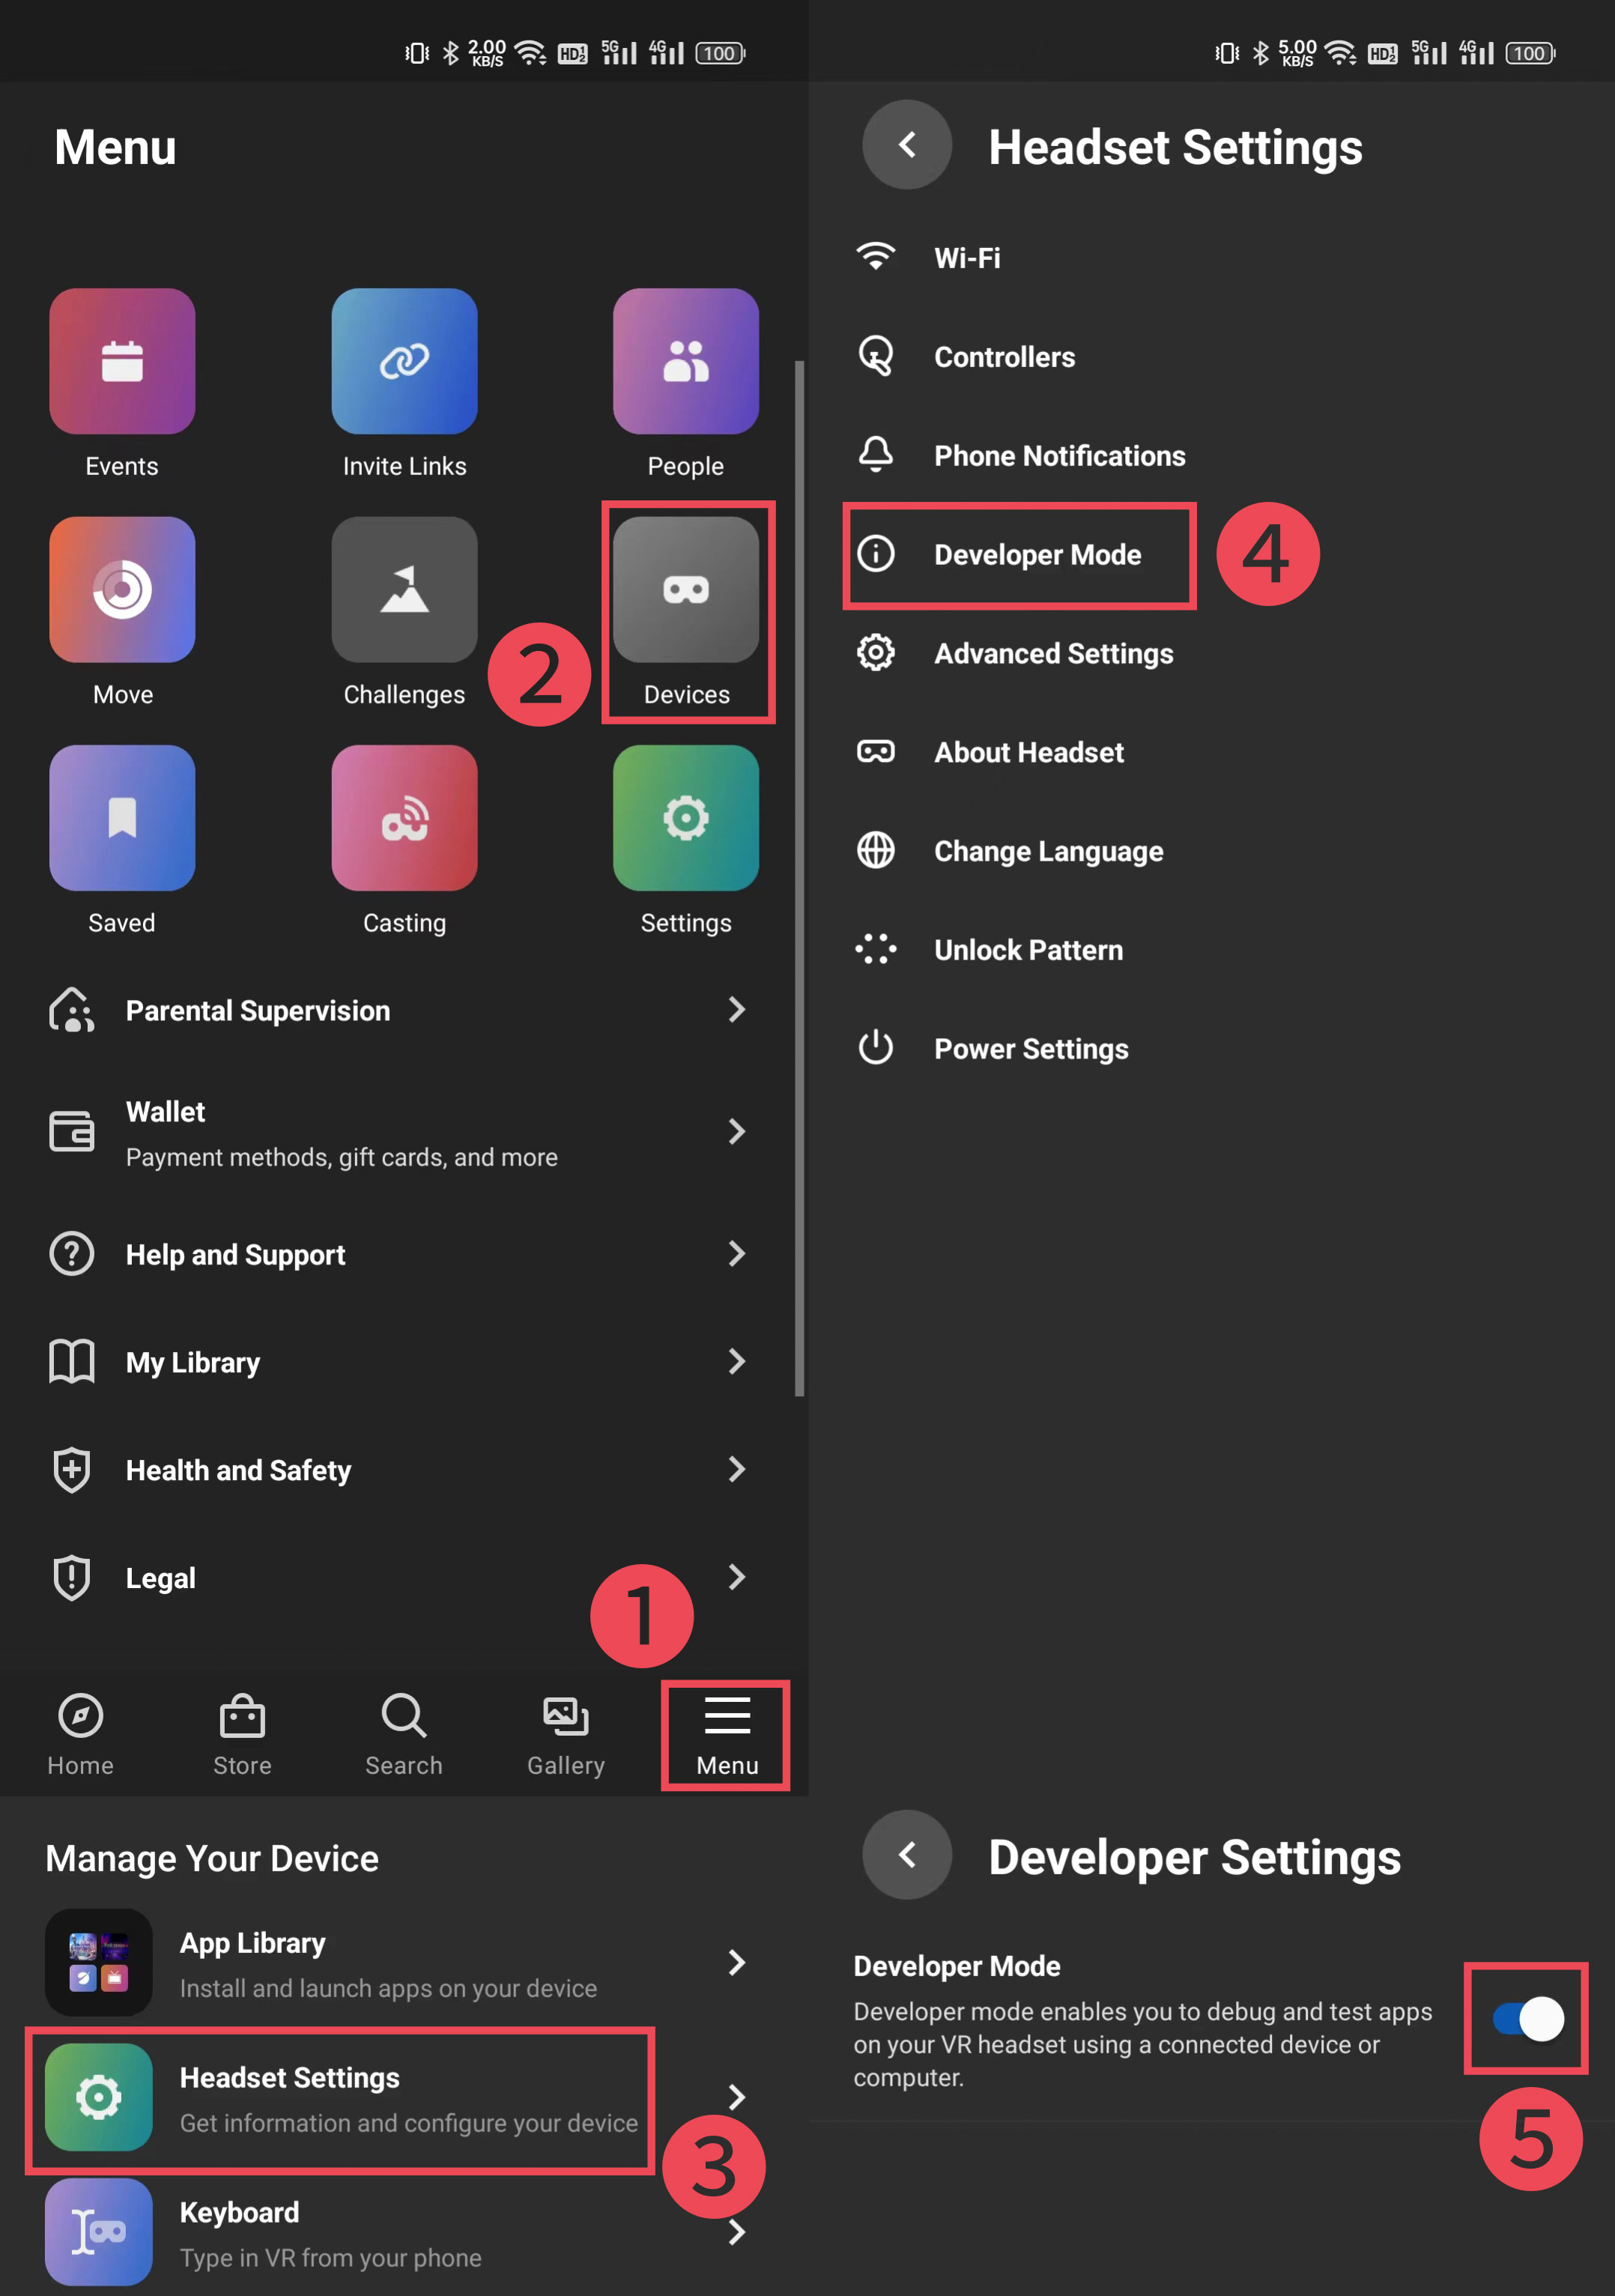
Now that you are a "developer", open the Meta Quest mobile app
( एपीके एन्ड्रोइड के लिए / गूगल प्ले पर इसे प्राप्त करें / इसे एप्लिकेशन स्टोर पर प्राप्त करें )
अपने स्मार्टफोन या टैबल्ट पर. मेनू खोलें > युक्ति > हेडसेट विन्यास. सूची में, आपको अब डेवलपर मोड देखना चाहिए. जब आप विकासकर्ता मोड सक्षम किया जाता है तो आपके हेडसेट को फिर से बुट करने के लिए ये अच्छा विचार है.
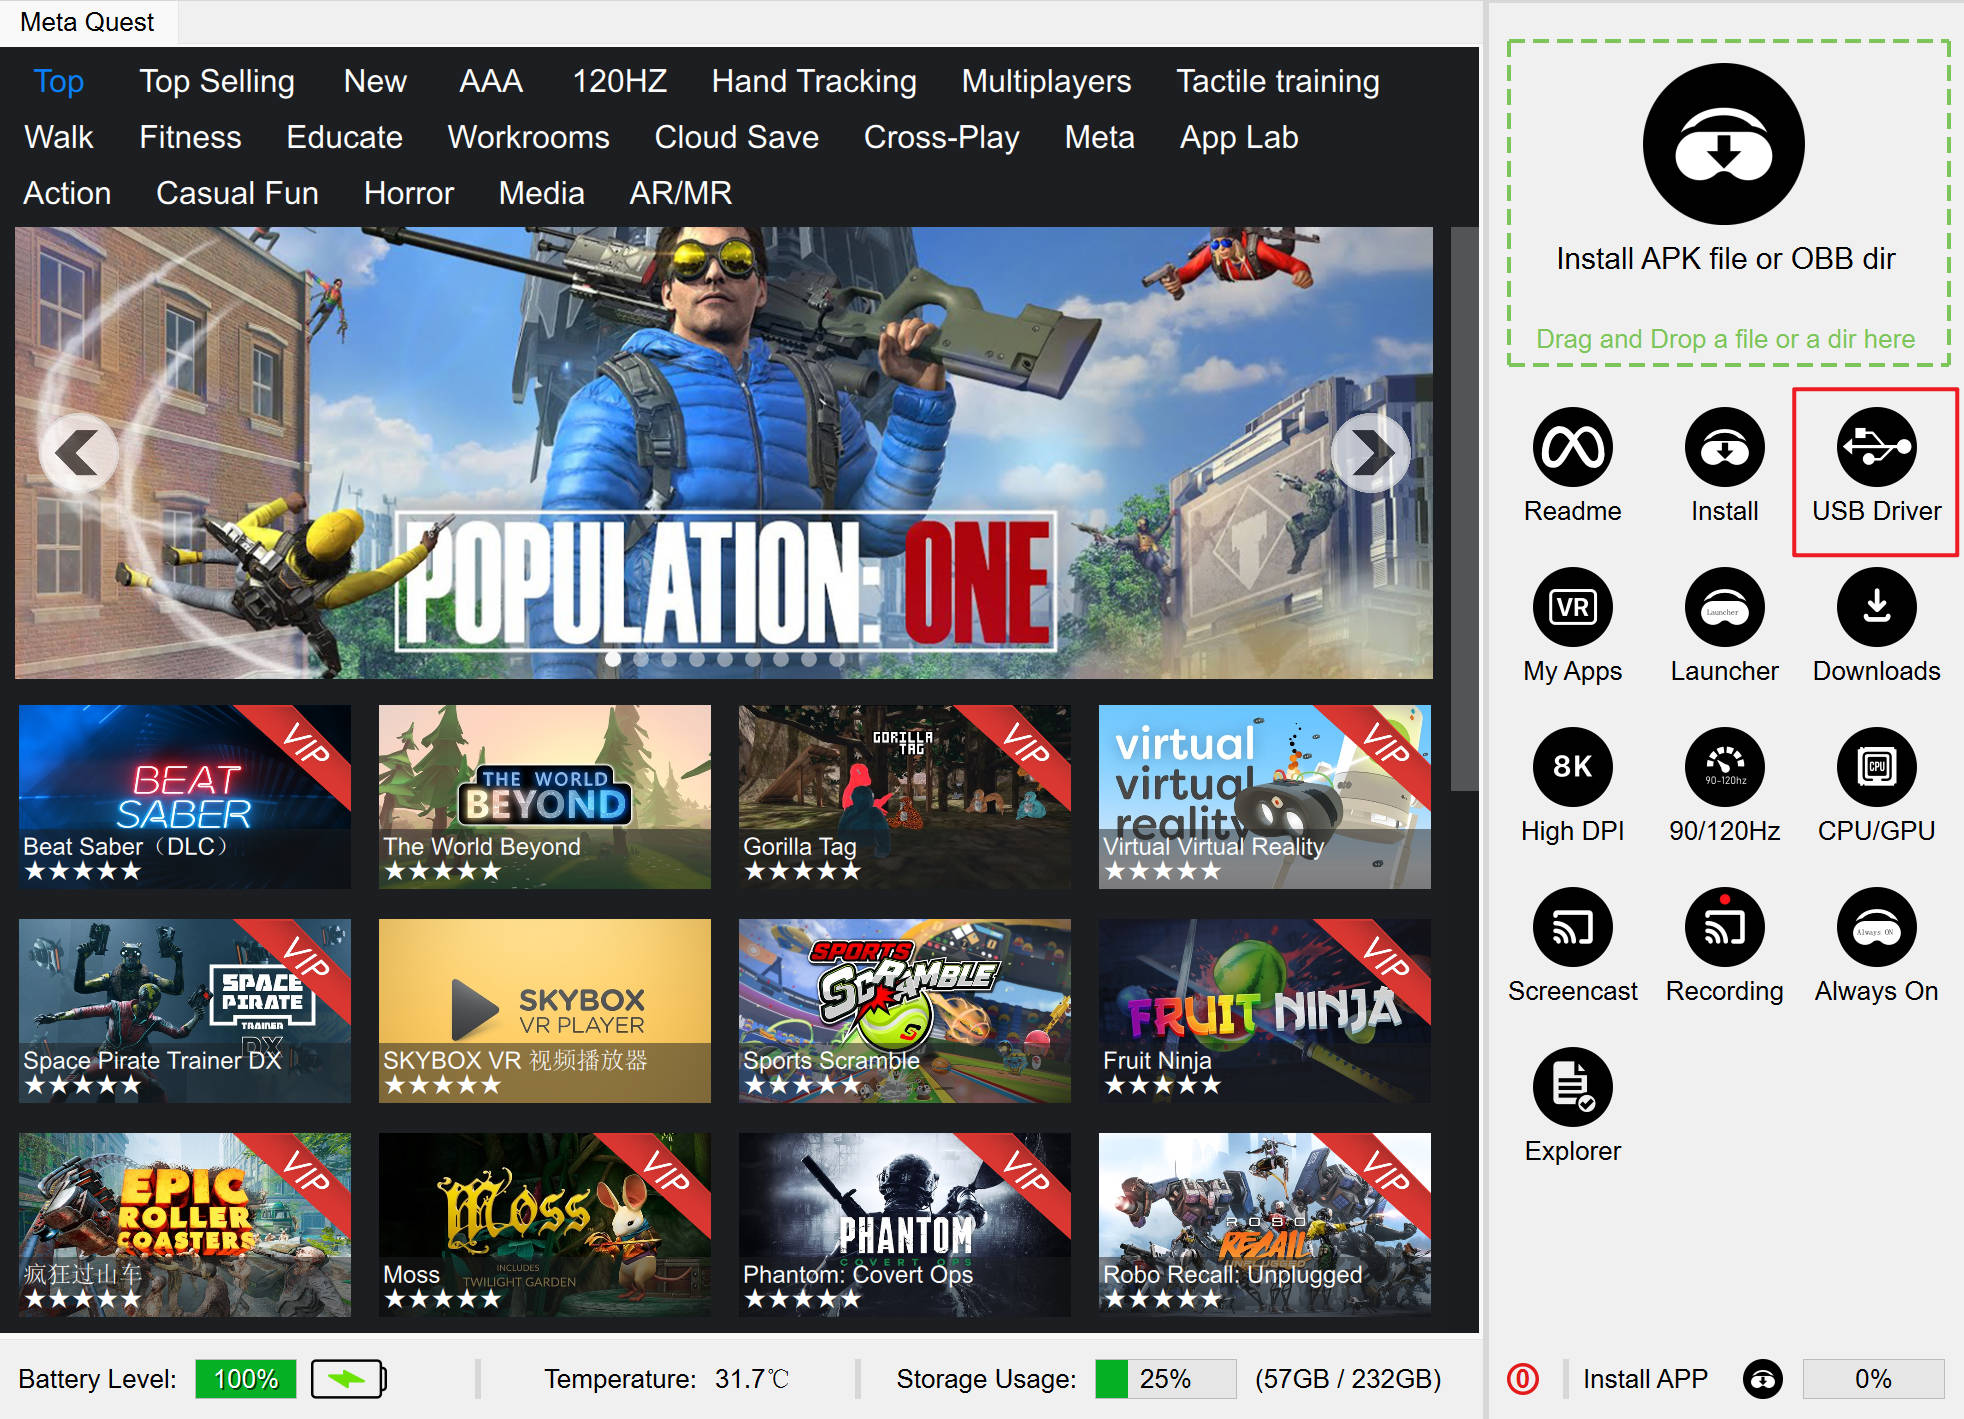
मेटा पिता खोलें, आपके डिवायर के लिए ड्राइवर सॉफ्टवेयर सॉफ्टवेयर संस्थापित करने के लिए यूएसबी ड्राइवर बट
अब यूएसबी केबल को कनेक्ट करने के लिए उसका समय. जब आप कनेक्ट किया जाता है तो आपको अपने हेडसेट पर USB डिबगिंग पहुँच अनुमति देना होगा. यदि आप इस बिन्दु पर अपना हेडसेट रखेंगे तो आप नीचे की तरह कुछ देखेंगे. आपको इस कम्प्यूटर से हमेशा अनुमति देना चाहिए कि इस संदेश को हर बार जब आप कनेक्ट करने से रोकें 'हमेशा इस संदेश से अनु
महत्वपूर्ण 1: सेटिंग > क्वेस्ट > अधिक सेटिंग > पैटर्न अनलाक करें.
अधिक जानकारी के लिए चरण 2 में छवि देखें.
महत्वपूर्ण 2: आपके क्वेस्ट के साथ आने वाले केबल के बदले फोन USB केबल की कोशिश करें.
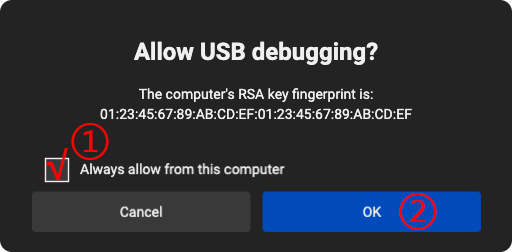
(प्रोम्प्ट स्क्रीन विभिन्न तंत्र संस्करणों के लिए अलग हो सकता है)